
Cordless LED recessed lights offer exceptional benefits, including remarkable energy efficiency and a lifespan of up to 50,000 hours. These lights consume significantly less energy than traditional bulbs, making them a cost-effective lighting solution. The installation process for cordless LED lights recessed is straightforward and can enhance the ambiance of any space. Throughout this guide, readers will gain insights into the seamless installation of these modern lighting fixtures.
Planning and Preparation
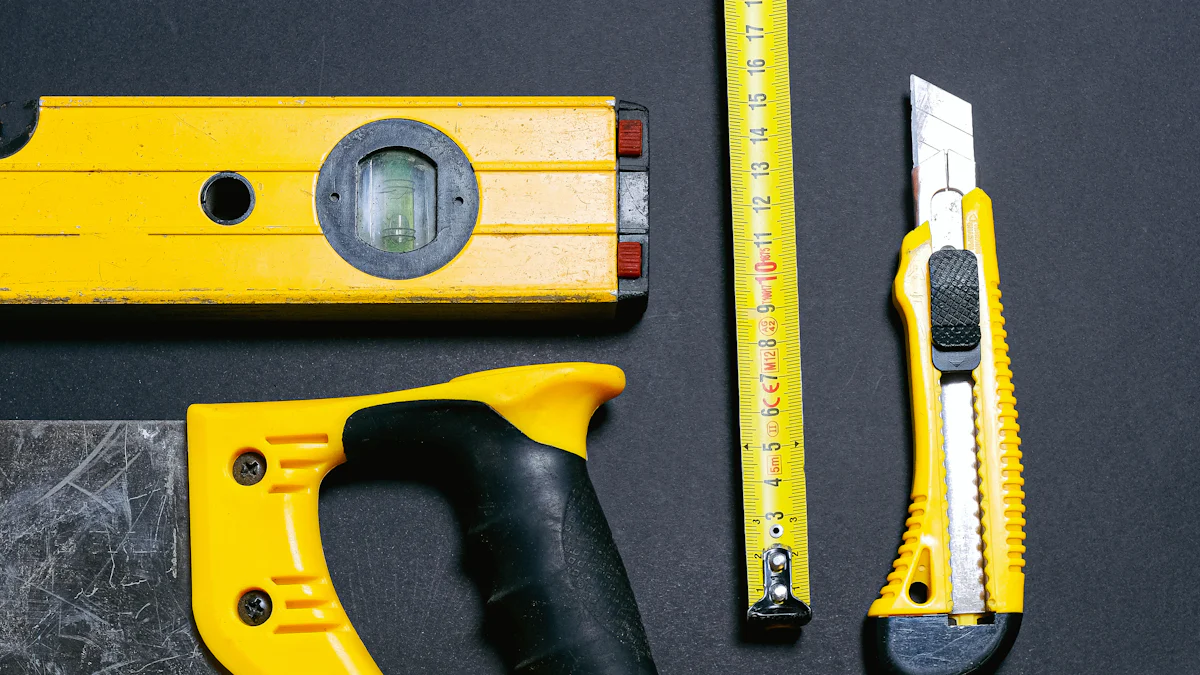
Gathering Tools and Materials
When embarking on the installation journey of cordless LED lights recessed, it is crucial to gather the necessary tools and materials for a seamless process. Here is a comprehensive list to ensure you have everything at your disposal:
List of Required Tools:
- Drill with drill bits
- Screwdriver set
- Wire stripper
- Voltage tester
- Pencil for marking
- Ladder for ceiling access
List of Required Materials:
- Cordless LED recessed lights
- Electrical wire
- Wire connectors
- Support bars for installation
- Safety goggles for eye protection
Creating a Lighting Plan
Before delving into the physical aspect of installation, creating a detailed lighting plan sets the foundation for a successful outcome when installing cordless led lights recessed.
Determining Light Placement:
Begin by envisioning the ideal placement of each light in the space, considering factors like room size and intended illumination areas.
Measuring and Marking the Ceiling:
Using precise measurements, mark the spots on the ceiling where each light will be installed to ensure uniformity and optimal lighting distribution.
Safety Precautions
Prioritizing safety measures throughout the installation process is paramount to prevent any mishaps or accidents.
Turning Off Power:
Before commencing any work, turn off the power supply to avoid electrical hazards during installation.
Using Safety Gear:
Equip yourself with essential safety gear such as safety goggles to protect your eyes from debris while working on installing cordless led lights.
Cutting Holes and Installing Supports
DIY Enthusiast: Today, embark on the exciting journey of installing cordless LED lights recessed by learning how to cut holes in the ceiling and secure supports for a seamless lighting experience.
Using a Rough-In Bracket
Aidot: Canless recessed lights offer a convenient installation method, requiring only a hole in the plasterboard or utilizing an existing can. This eliminates the need for extensive ceiling alterations, simplifying the process significantly.
Marking the Ceiling
Begin by carefully marking the precise locations on the ceiling where each cordless led light will illuminate your space. Accuracy is key to achieving uniform and aesthetically pleasing lighting distribution throughout the room.
Cutting the Holes
With your markings as guides, proceed to cut out the designated holes in the ceiling using appropriate tools. Ensure that each hole is crafted with precision to accommodate the installation of cordless LED lights recessed effectively.
Installing Supports
DIY Enthusiast: Establishing sturdy supports is essential to ensure the stability and longevity of your cordless led lights recessed. Let’s delve into understanding different types of supports and how to secure them in place for optimal performance.
Types of Supports
Explore various support options that best suit your installation needs. From adjustable brackets to fixed bars, selecting the right support mechanism plays a crucial role in maintaining the integrity of your lighting setup.
Securing Supports in Place
Once you have chosen the ideal support type, proceed to secure them firmly in position according to your pre-determined lighting plan. Properly anchoring the supports guarantees that your cordless LED lights recessed remain securely affixed to the ceiling, providing reliable illumination for years to come.
Wiring and Installing Lights
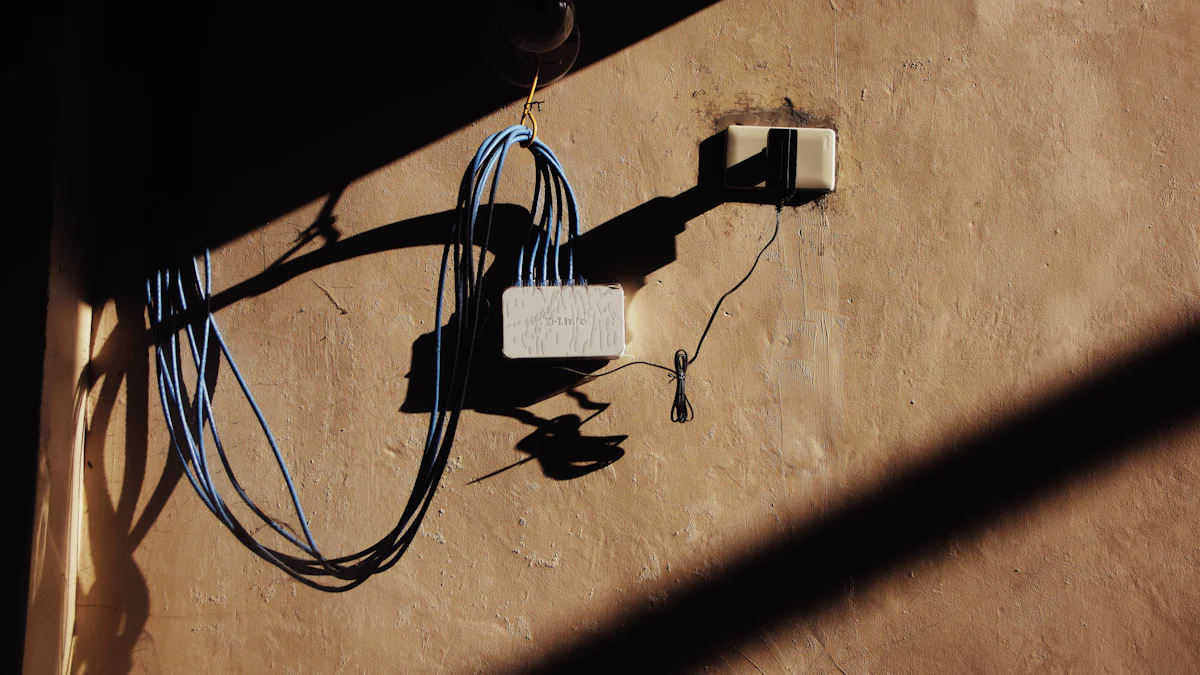
Wiring the Switch
When installing cordless LED lights recessed, the initial step involves wiring the switch to ensure seamless operation. This process is crucial for enabling control over the illumination in your space.
Connecting to the First LED Driver Box
To begin, connect the wiring from the switch to the first cordless led light driver box. This connection serves as the foundation for establishing a functional circuit that powers your modern lighting fixtures.
Pulling Additional Wire
After connecting to the first LED driver box, proceed by pulling additional wire through the ceiling. This step is essential for daisy-chaining multiple cordless led lights recessed, allowing them to work harmoniously within your lighting setup.
Installing the Lights
With the wiring in place, it’s time to focus on installing the cordless LED lights recessed into their designated locations. Proper installation ensures optimal performance and aesthetic appeal in your chosen space.
Positioning the Lights
Carefully position each cordless led light according to your pre-determined lighting plan. Strategic placement enhances both functionality and visual impact, creating a well-lit environment that meets your specific needs.
Securing the Lights in Place
Once positioned correctly, secure each cordless led light in place to guarantee stability and longevity. Properly affixing the lights ensures they remain securely attached to the ceiling, providing consistent illumination over time.
Final Adjustments and Testing
Adjusting Light Position
Ensuring Proper Alignment
To ensure the optimal illumination of the space, precise alignment of each cordless LED light is essential. By aligning the lights correctly, you guarantee uniform brightness throughout the room.
Making Final Adjustments
After aligning the cordless LED lights, it’s time to make any necessary final adjustments. These adjustments may involve minor tweaks to the positioning to achieve the desired lighting effect in your space.
Testing the Lights
Turning On the Power
With all cordless LED lights installed and positioned, it’s time to power them on for testing. Switch on the lights to witness the transformation of your space with modern and energy-efficient lighting.
Checking for Proper Operation
Once illuminated, carefully observe each cordless LED light to ensure they are functioning correctly. Check for any flickering or dimming issues that may indicate a wiring problem, ensuring your lights operate seamlessly.
Remember, proper alignment and testing are crucial steps in completing the installation process of cordless LED recessed lights. By following these final steps diligently, you can enjoy a well-lit environment that enhances both functionality and aesthetics in your living or working space.
As the installation journey of cordless LED recessed lights comes to a close, let’s reflect on the meticulous process undertaken. The recap emphasizes the importance of precise planning, safety precautions, and strategic positioning for optimal lighting. Donnie, an expert in under cabinet lighting installation, shares final tips to ensure a successful outcome. Remember, proper alignment and testing are key to enjoying the new lighting fully. With energy-efficient illumination now adorning your space, embrace the ambiance created by these modern fixtures.
Post time: Jun-14-2024